Camera Focal Length Deformer
June 1, 2025
Playing with an idea that could help when modelling heads/characters: deforming objects by the change in a cameras focal length.
When sculpting/modelling a character head, I often find that that the model “feels” better when viewed through a longer or shorter lens, so I wanted to attempt to turn that idea into a viable modelling workflow.
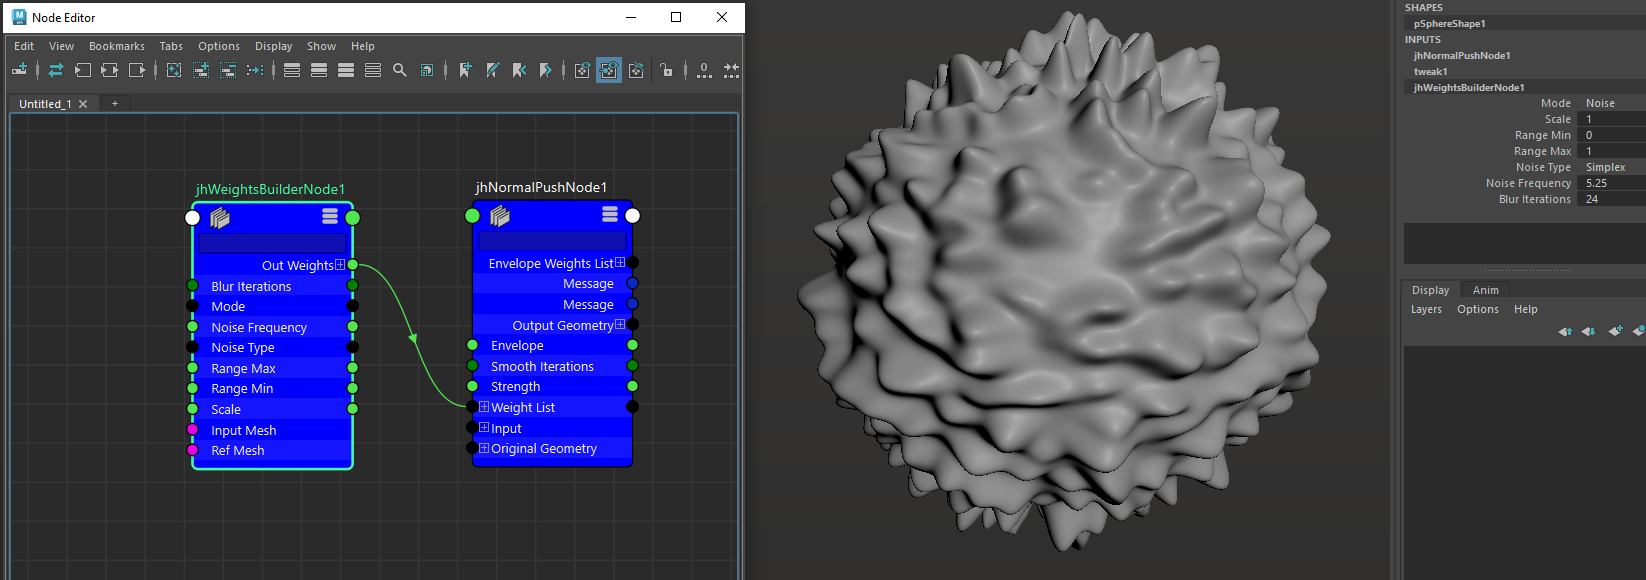
This is a custom C++ deformer that will deform input objects by the change in a camera’s focal length.
Each object’s points are scaled as they are deformed to ensure that the object stays the same size in frame, mimicking the “dolly zoom” effect.
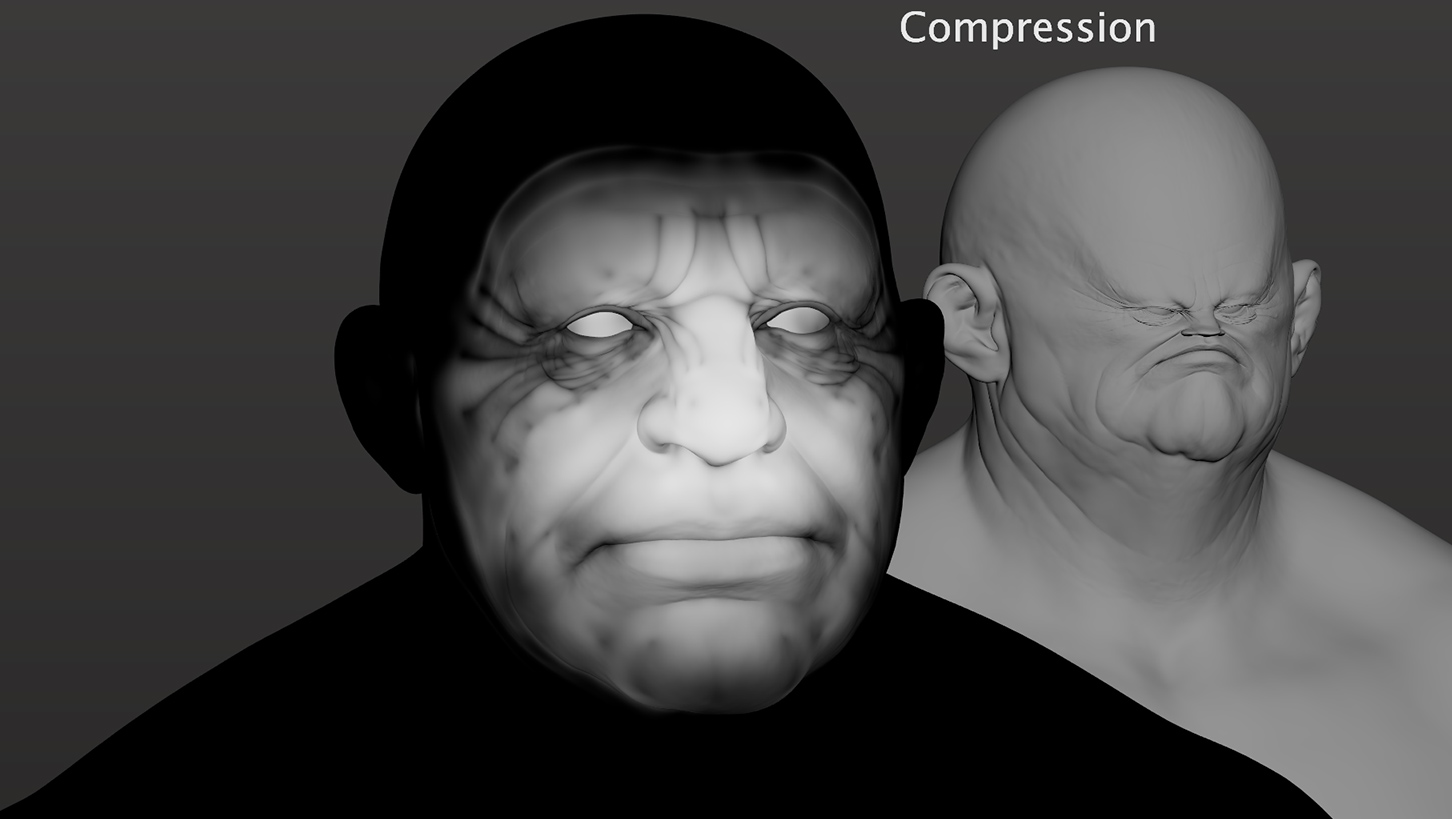
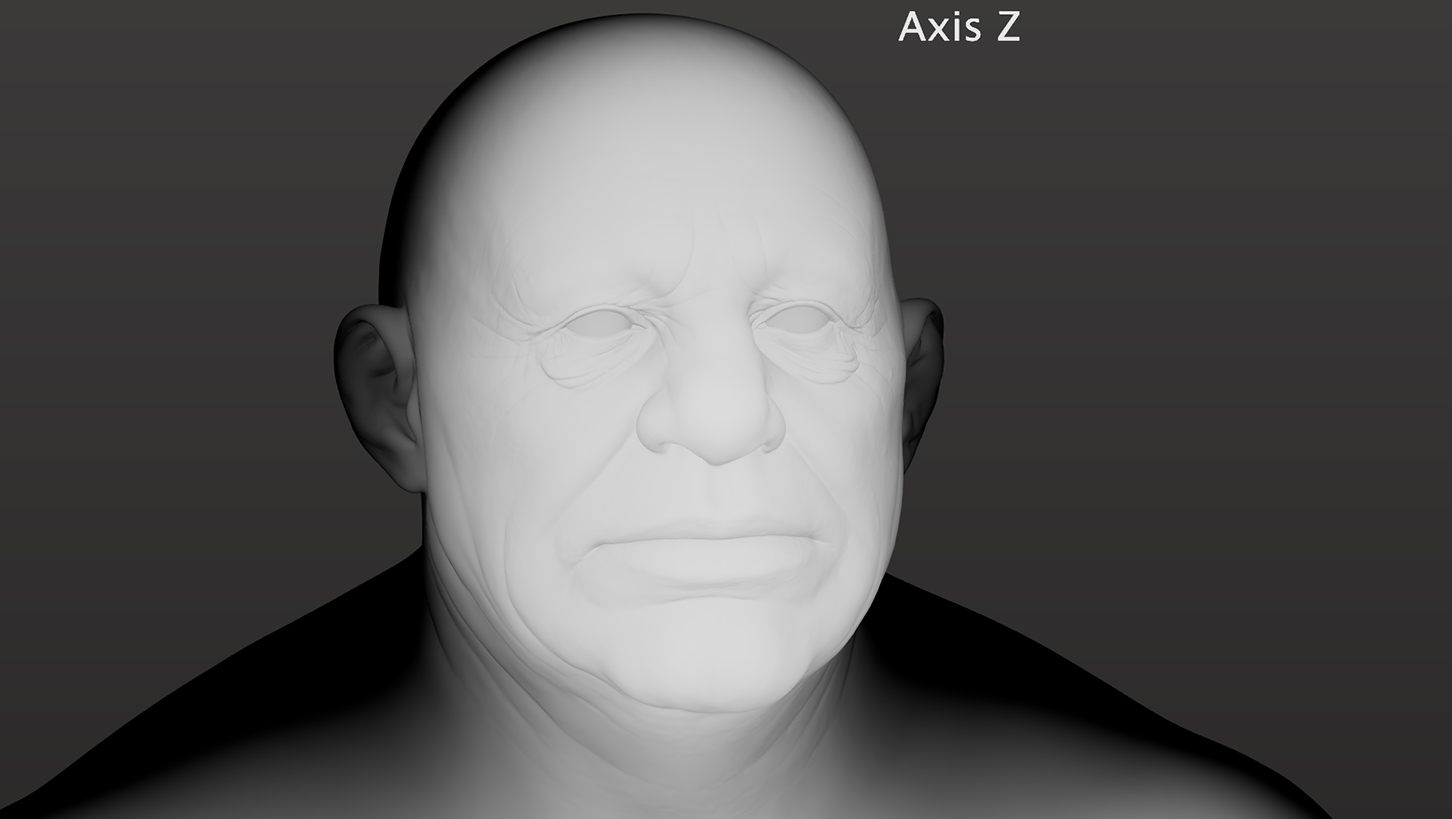
It’s not quite as useful as I had hoped, since most of the deformation occurs along the camera’s Z axis due to focal length compression.
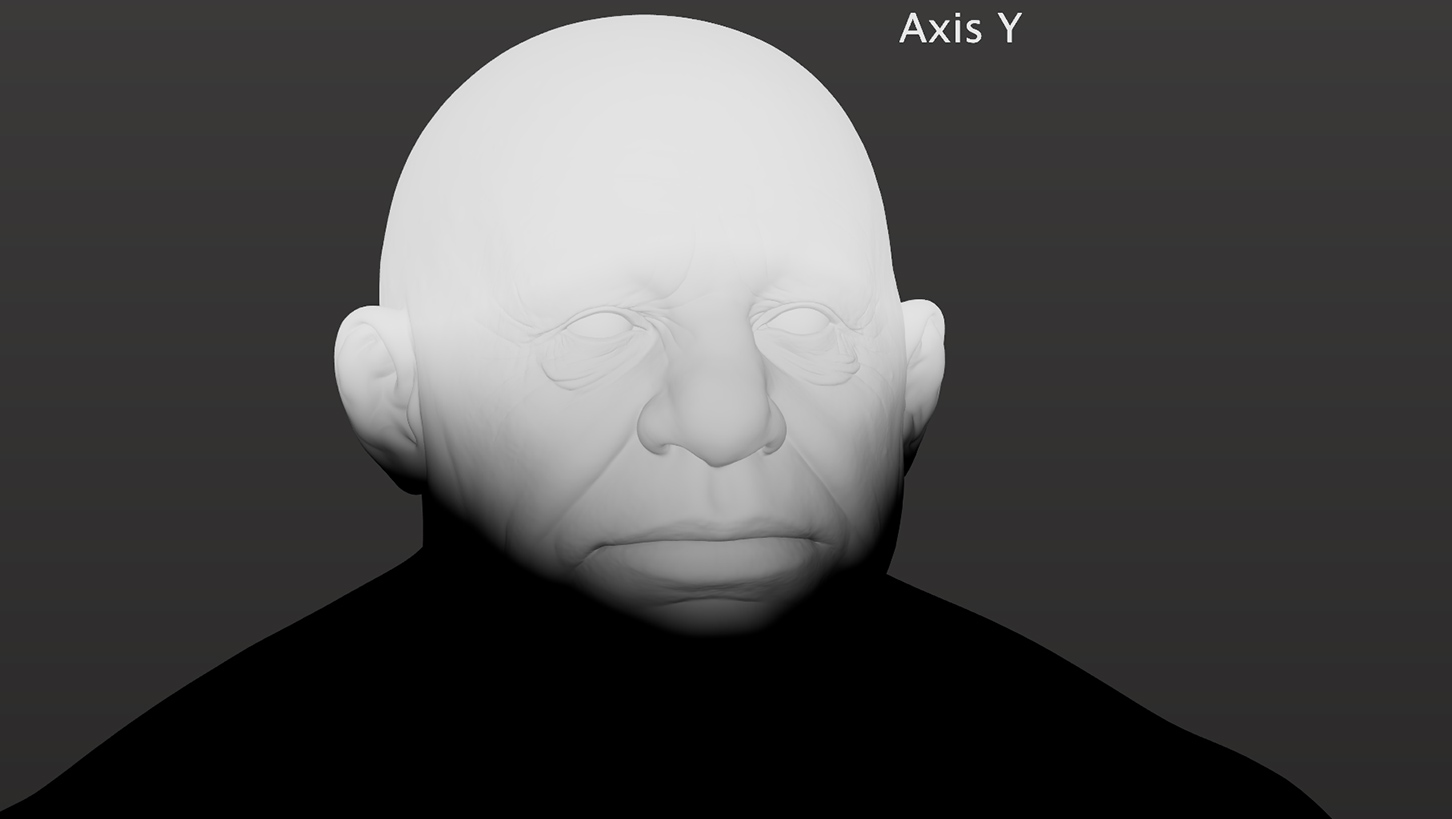
However, things get a bit more interesting when you adjust the point scaling in each axis separately.
This allows the user to distort the objects more in X and Y than Z, giving you that feeling of a wider head with a compressed face, or vice-versa.
Focus distance, which adjusts the pivot point for scaling, and a falloff control, which adjusts the deformation strength based on each point’s depth relative to the camera, have been implemented for additional control.
Another potential use for something like this is to improve the manual camera line up workflow, where you feel the model needs to be adjusted to fit a known image’s focal length.
The reference starting focal length is cached, with an option to re-cache, allowing the camera to be adjusted to apply distortion from any viewing angle.
The reference starting focal length is cached, with an option to re-cache, allowing the camera to be adjusted to apply distortion from any viewing angle.
Mostly, this is a tool made just for fun and the learning process, running on the GPU for real time feedback with high res meshes.